I tried to catch the Orionid Meteor Shower last night, and while I saw about 3-4 with my own eyes, I didn't catch any in the camera. That's okay though! Because one of the best consolation prizes from a meteor hunt is the star trail photos you can make from stacking all your pics together. I took 400 individual photos, each 15 seconds long, between 9:45pm and 11:35pm last night. If you live in the Midwest like me, or anywhere near civilization really, you're bound to have an airplane muck up your star trails. While this isn't necessarily bad, sometimes it's
interesting to see just how busy the sky is at night, it can distract from the beautiful swirl of the stars as the Earth turns.
 |
| Star trails before and after with some easy touch-ups |
If you don't already know how to do star trails, check out the free software called
StarStaX. In short, you can stack of bunch of individual photos to create star trails without doing one big long exposure, which is the traditional route. If you're a star trail purist, your 2 hour long exposure could be ruined by someone bumping the tripod or a car passing by with bright headlights. With star trail stacking, you can throw out or edit a frame here and there and it doesn't ruin the entire batch.
The way stacking works is the software keeps the brightest pixel from each image. It's the same as the Lighten blend option in Photoshop. So anything dark will be replaced with something lighter, and things that are bright stick around. If the stars are the brightest pixels in their pathway, their light is kept. If something is brighter like a plane or clouds, those pixels are kept instead.
We can take advantage of this to edit out the planes and other junk in the photos because making things dark is the same as erasing them, and we don't have to worry about filling the empty space because there are plenty of brighter pixels in the other photos that will take its place.
 |
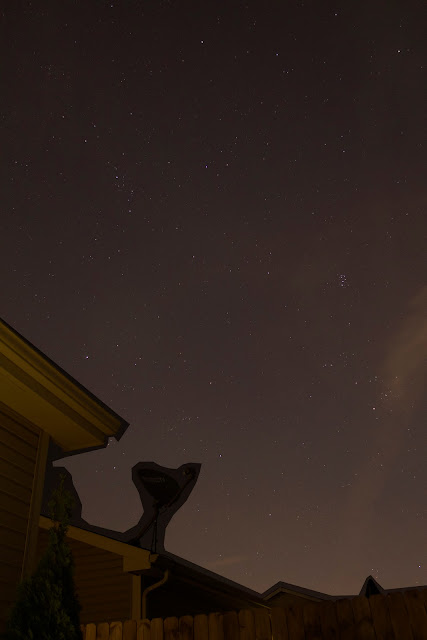
| Here's an example of a frame I edited. I want to keep the stars, but someone turned on the porch light which made the side of the house bright yellow. I did a very rough selection in Photoshop and made this area darker, knowing it would be replaced by the lighter section of the house in the other images. |
 |
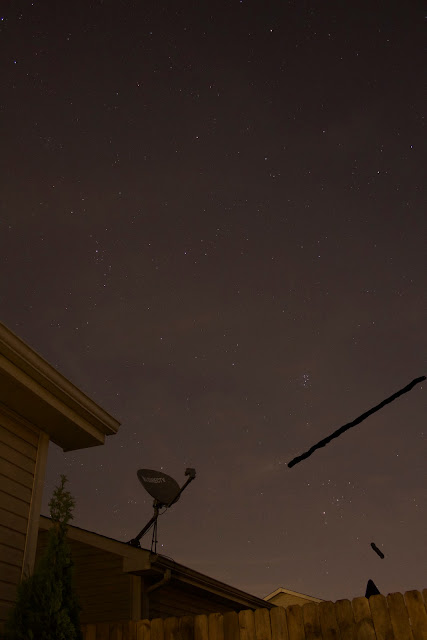
| Here's another individual image. I remove 2 light trails from planes in this image by just coloring black over them. Since the ambient sky background in other images is lighter than the black, I know that the lighter pixels will be kept and these black pixels will be thrown out anyway - so it's the same as erasing them. I don't even have to have sharp edges or straight lines, the stacking averages out everything around it and you won't see the erase marks at all. |
 |
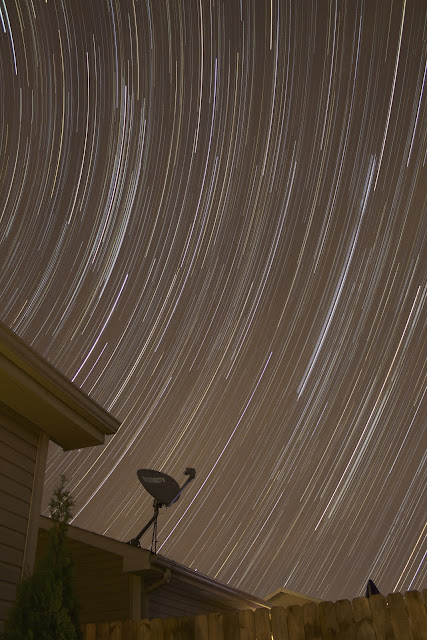
| Here is the final image without planes. 400 images stacked, each 15 sec, ISO 800, f/4.0, 18mm. The image looks too yellow because of the light pollution in the area and in the neighborhood, so there's just a couple tweaks left to make in Photoshop. |
 |
| Here's my final product. Color balance and contrast is like cooking with spices, everyone will have their own taste. I like to go a little blue/purple to get rid of the gross yellow light - but not so purple that it looks like a disco blacklight party. I turned up the contrast a little bit to hide the yellow clouds that kinda smeared across the image, but again not too much because I don't want it to look completely fake. These 2 hour star trails are nice and long, and without the distracting planes, it looks much more peaceful. |
Well this really wasn't meant to be a tutorial, but I just wanted to document my process a little. Another star trail consolation prize to add to my collection, and a little bit of post processing work took it from neat to pretty cool.

