I posted a before and after pic on Instagram that shows a new technique
I just learned for removing light pollution by subtracting a Gaussian Blur layer in Photoshop. Based on the comments, it sounds like others - like myself - hadn't tried this technique yet. So I decided to post a sort of screenshot walkthrough for the technique (because everybody hates reading).
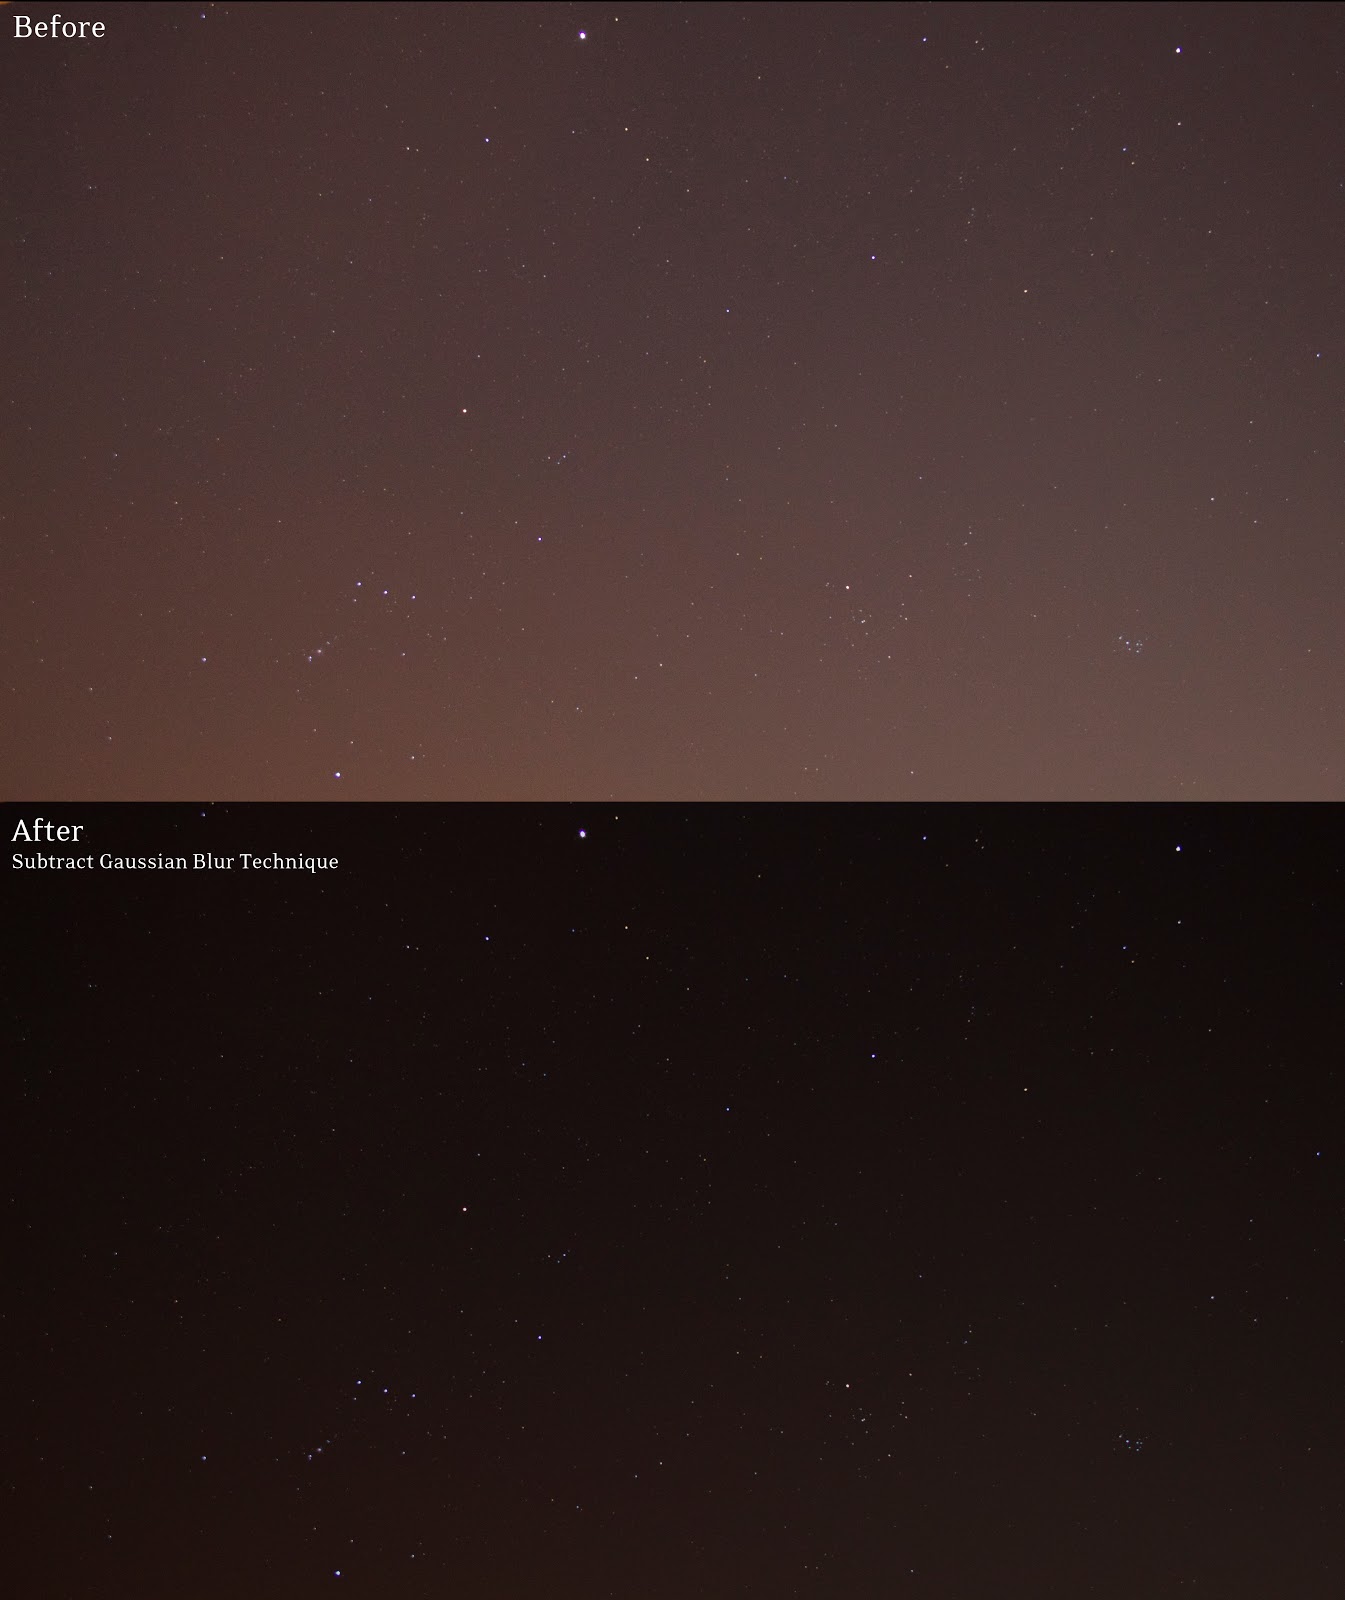 |
| Before and After - original photo is ISO 1600, 18mm, f/4, 10 sec from outside Indianapolis |
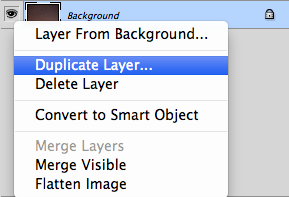 |
| When you open the image it will be the background layer in Photoshop. Duplicate the background layer and name it whatever you want, then make sure this new layer is on top of the background layer. |
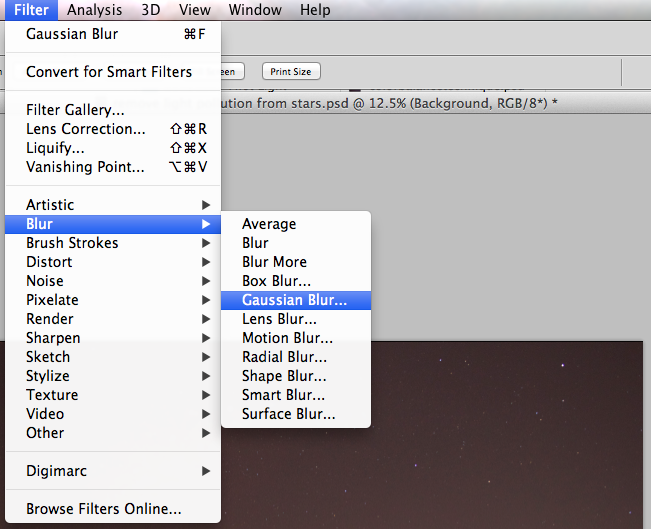 |
| Apply a Gaussian Blur effect to the new top layer... |
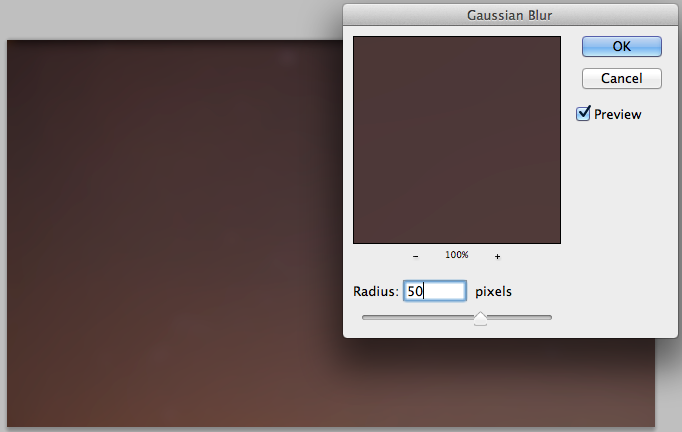 |
| Blur out all the stars, this is typically in the radius 40 to 60 range... |
 |
| Choose either Subtract or Difference from the drop down tab, then adjust the Opacity to remove as much of the light pollution color from the photo as you want. |
Your end result will have a lot less light pollution. You may need to increase brightness on the bottom layer. Play around with the settings to your liking, but this should get you pretty close!
This technique is also great for removing vignettes or gradients from photos.
It's simple and fast, and better than my
OLD technique of adjusting the colors. Using the color balance approach can help you change the light pollution from an orange yellow mess to something that looks more like the sky, but it doesn't really subtract it or cancel it out. Using white balance has a similar effect, you can adjust the colors but you're not really removing any of the low contrast haze around the stars. Granted, there are some drawbacks - I haven't yet tried this technique with any objects in the foreground.


No comments:
Post a Comment